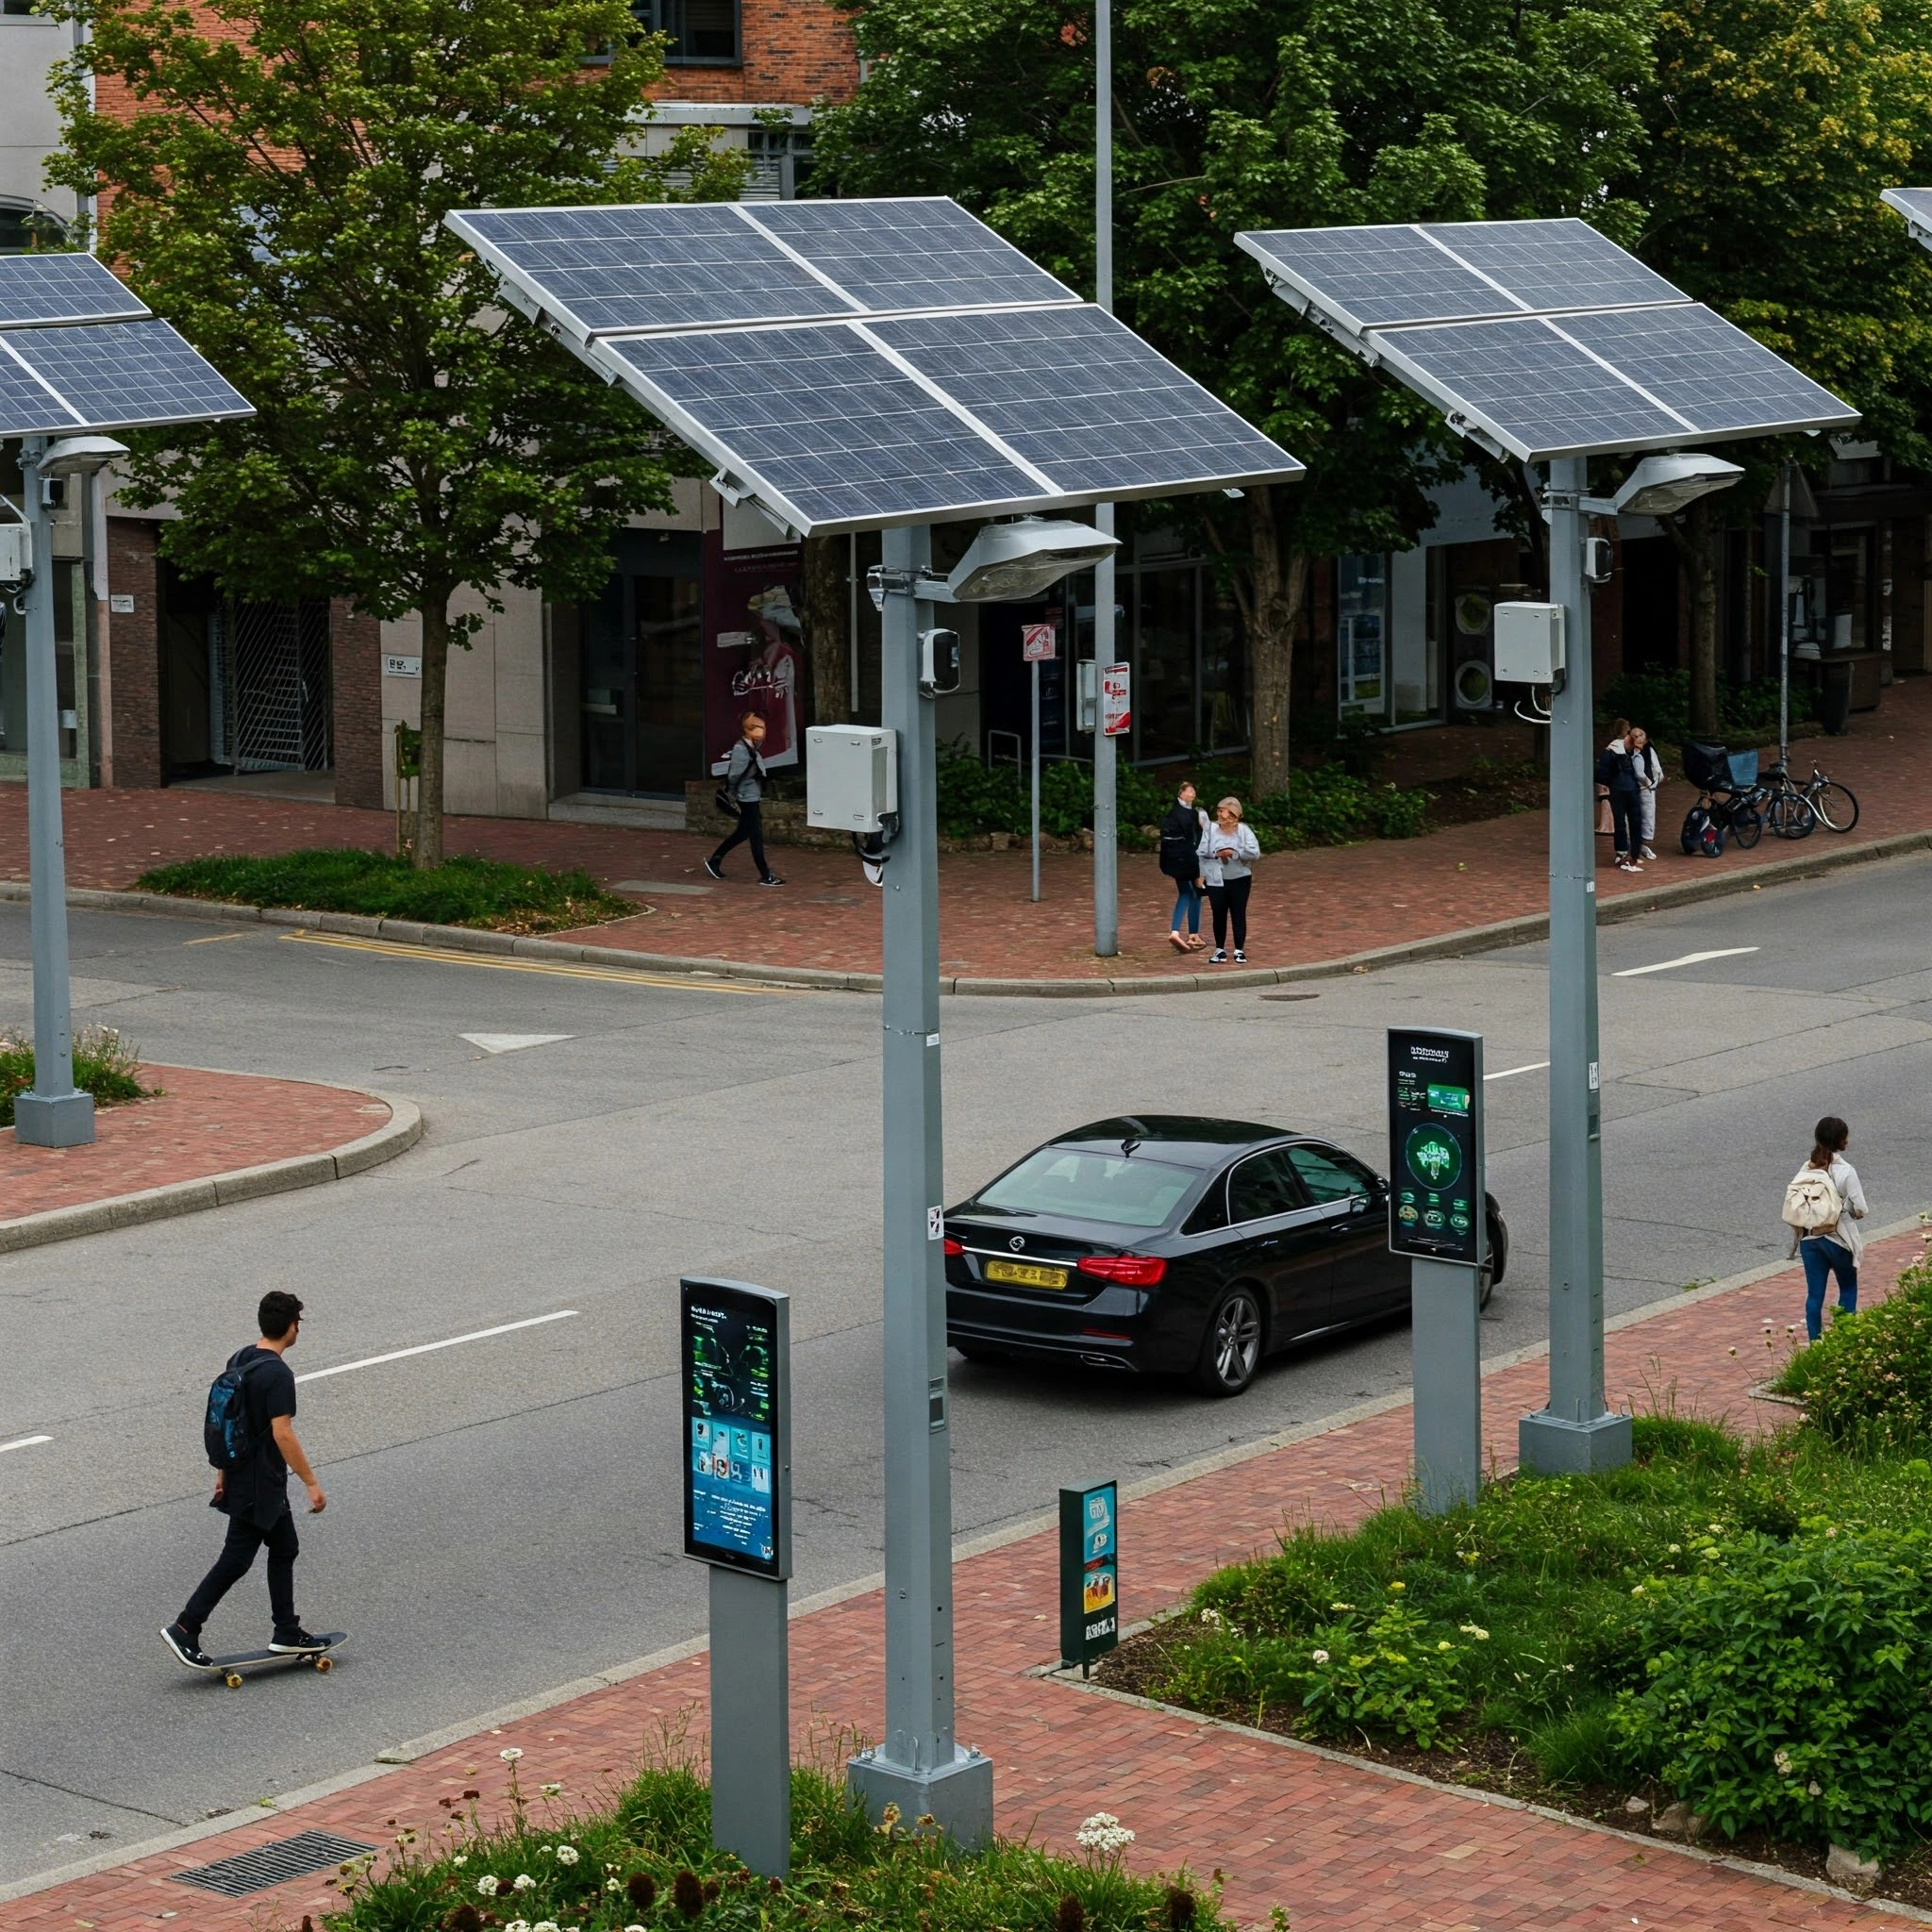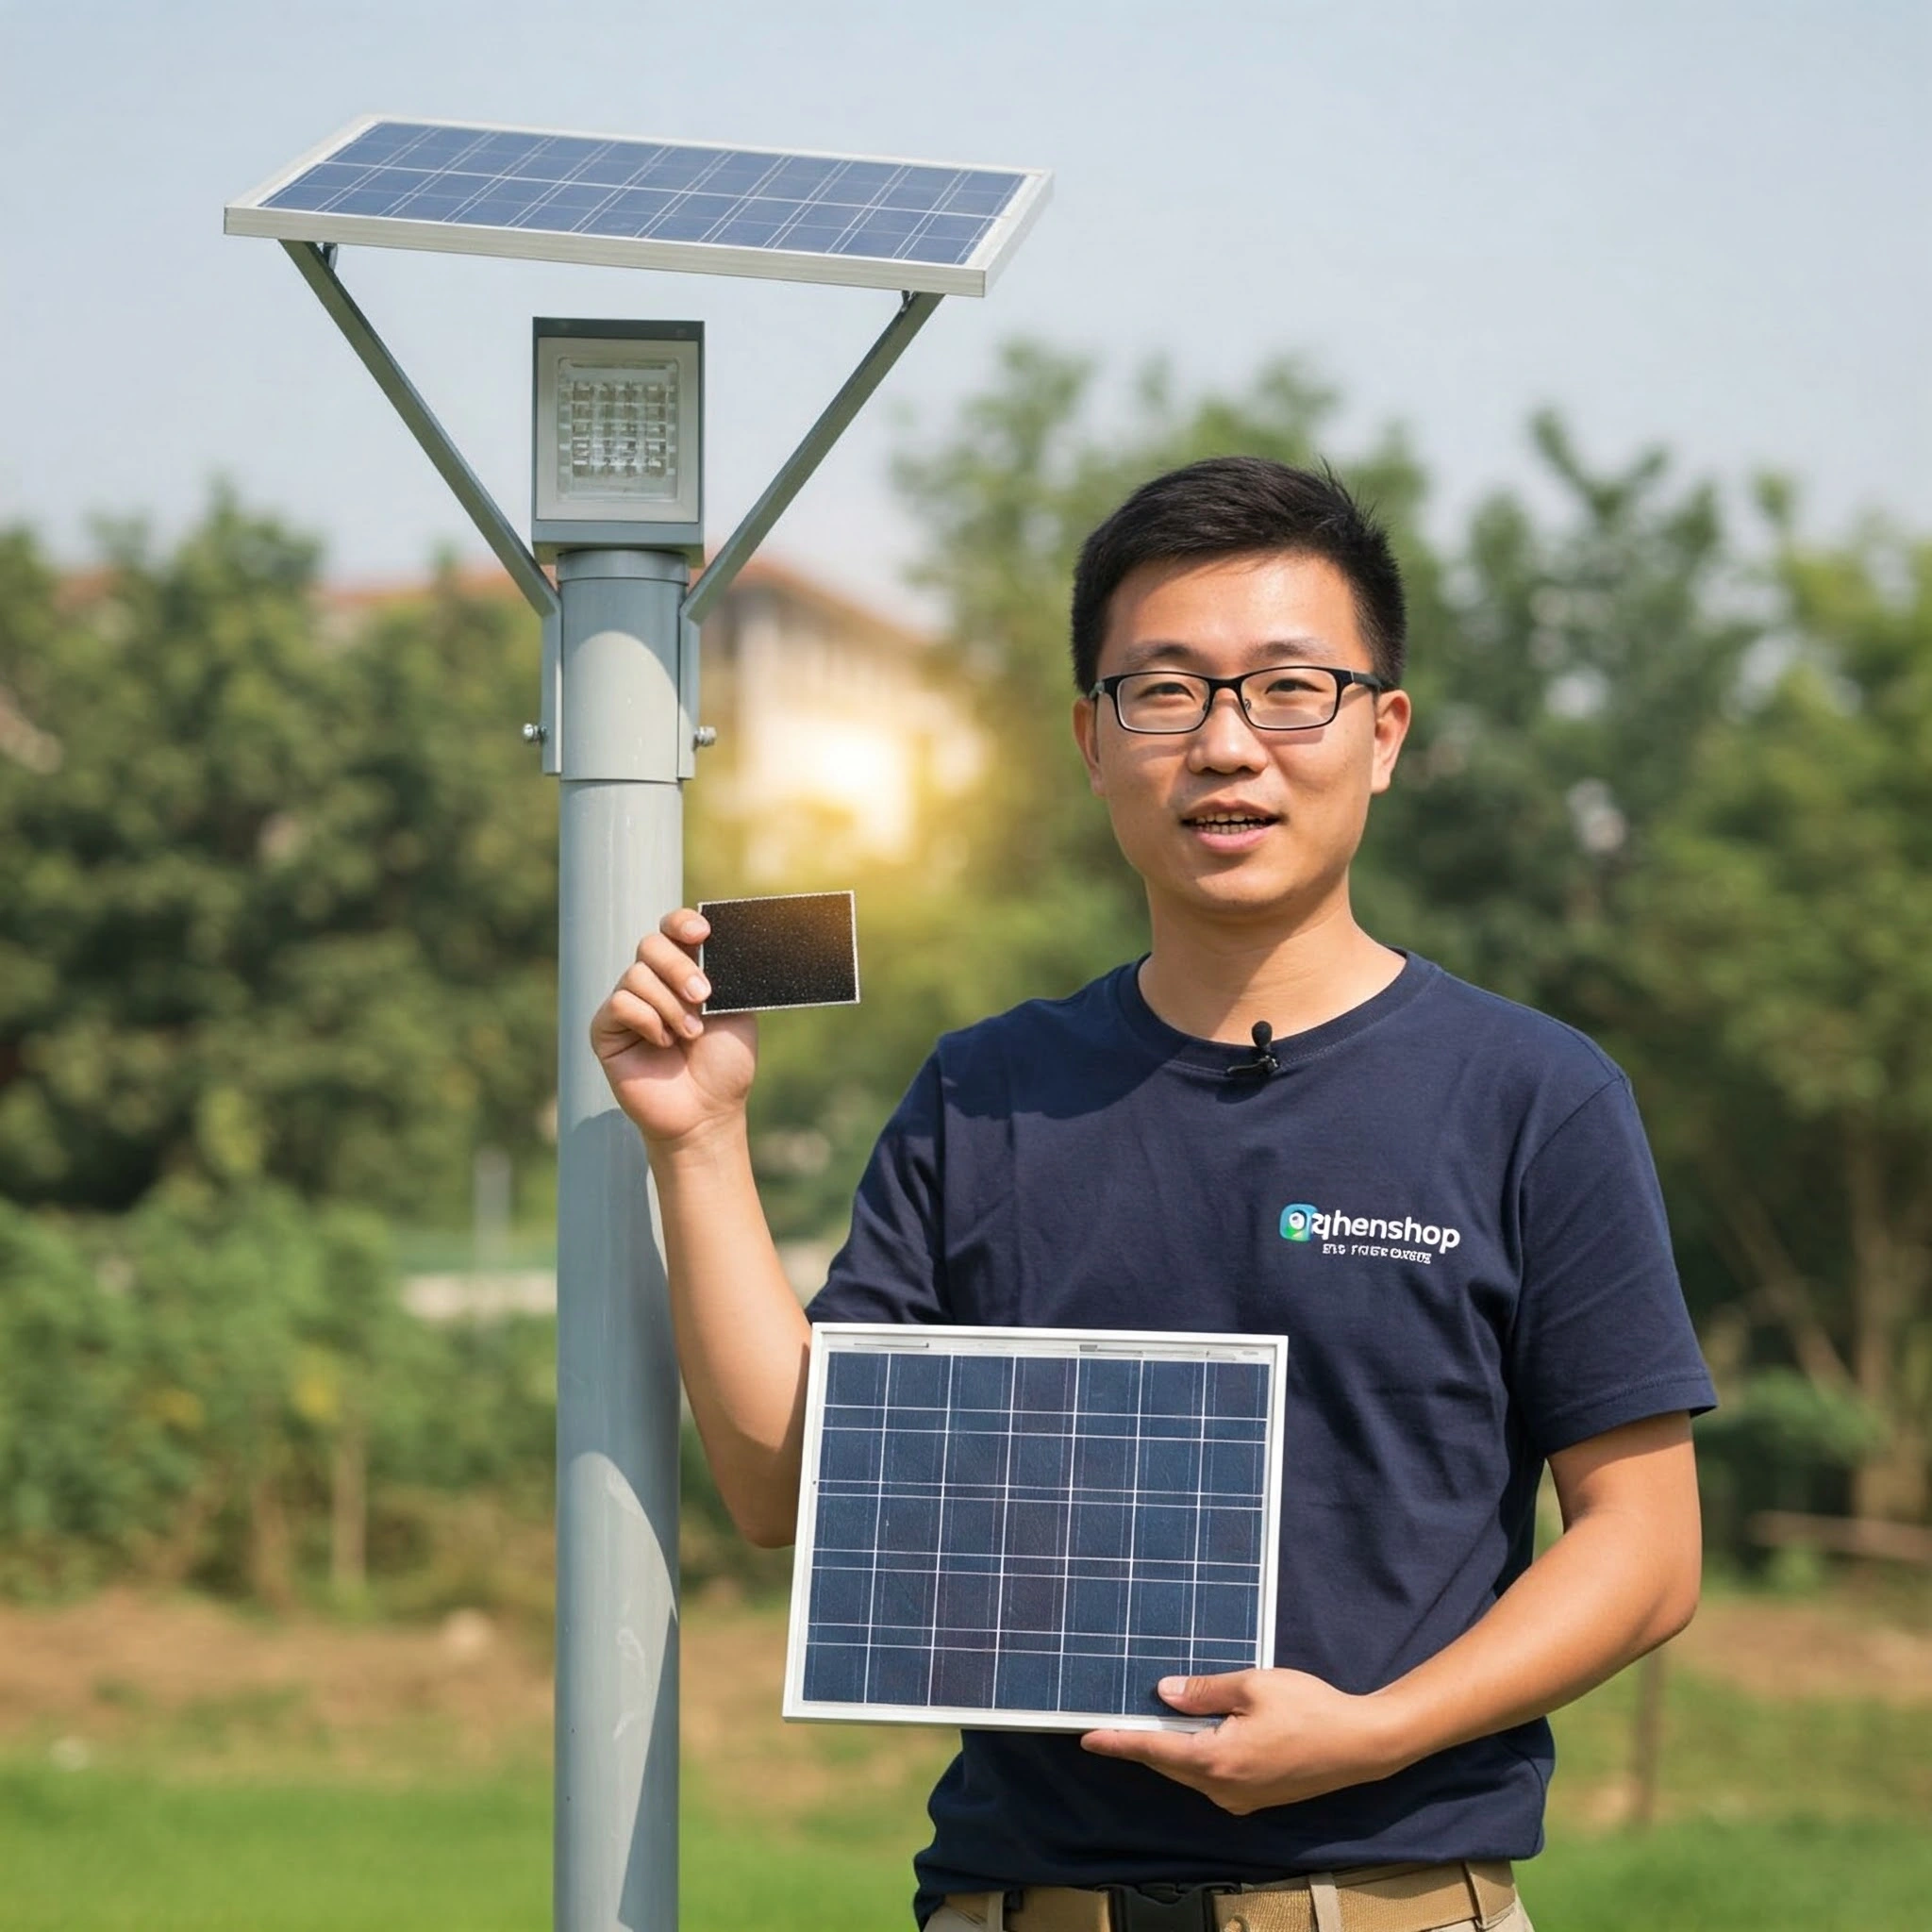



Solar street light not working? It rarely fails for a mysterious reason. In practice, most field complaints trace back to four component groups: the panel, the battery, the charge controller, or the sensors and settings around them. This guide walks installers, distributors and project owners through the twelve failures we see most often, what to check first, and when the fault belongs with the supplier rather than on your ladder.
Nothing here replaces the commissioning manual that ships with your units, and none of the checks below require opening sealed compartments. Work from the symptom backwards, and you will usually know within ten minutes whether this is a five-minute fix or a warranty claim.
Before You Touch Anything: Safety and Warranty Notes
Three rules before any inspection. First, treat every pole as live: isolate or switch off the unit where the design allows it before handling connectors. Second, do not open sealed battery compartments, driver housings or LED modules. These assemblies are sealed to IP65, and breaking the seal can introduce moisture problems that were never there before. Third, opening sealed parts may affect the terms of the warranty policy that came with your order, so read that document before any invasive step. For a plain-language summary of what component-level warranty terms usually mean, see our guide to what a 5-year warranty should actually cover.
The 12 Common Failures at a Glance
The table below maps each symptom to the most likely cause and the first check we recommend. Work top to bottom: the first rows cover the majority of real-world cases.
| # | Symptom | Most likely cause | First check | Typical outcome |
|---|---|---|---|---|
| 1 | Never turns on at night | Battery fully discharged or controller in protection | Panel voltage in daylight; battery voltage against the datasheet nominal value | Recharge and retest, or replace the battery |
| 2 | Runs only one or two hours | Aged battery or undersized panel for the load profile | Compare configuration against the original sizing calculation | Replace aged battery or resize panel |
| 3 | Turns on, then off and on again | Low battery combined with motion-sensor mode, or a loose connector | Battery charge state; connector seating at the lamp head and battery box | Recharge; reseat or replace connectors |
| 4 | Output visibly dimmer than before | Aged LED or driver, or battery below the cutoff threshold | Compare light pattern against commissioning photos | Inspect driver; replace battery if capacity has collapsed |
| 5 | Dead even after several sunny days | Failed battery cell group or faulty controller | Measure battery voltage at rest with a multimeter | Replace battery or controller per diagnosis |
| 6 | Stays on during the day | Photocell (dusk-to-dawn) sensor dirty, blocked or shaded | Inspect sensor window; check for new shade sources | Clean the sensor or clear the obstruction |
| 7 | Switches on too late or too early | Timer profile not adjusted for the season | Review timer settings against local sunset table | Adjust the timer profile |
| 8 | Motion response too sharp or too dull | Sensitivity or delay settings misconfigured | Compare current settings with commissioning values | Recalibrate sensitivity and hold time |
| 9 | Remote control does nothing | Remote battery dead, pairing lost, or infrared blocked | Replace the remote battery; re-pair following the manual | Re-pair the remote or replace it |
| 10 | Erratic behavior after a storm | Water ingress past sealing limits or a damaged connector | Inspect gaskets, cable glands and connector pins for corrosion | Dry out, reseal, replace gaskets or harness |
| 11 | Visible physical damage | Vandalism, theft of parts, or vehicle impact on the pole | Visual inspection of panel, lamp head, battery box and wiring | Replace damaged harness or components |
| 12 | Output degraded over months or years | Vegetation growth shading the panel | Check the panel position at solar noon for new shadows | Trim vegetation or relocate the pole |
A Field Workflow for Diagnosis
When the table does not settle it, run this sequence in order. It takes one afternoon and needs only a multimeter, a notebook and the unit datasheet.
- Daytime panel check: measure panel output under load in full sun, then compare with the datasheet rating. A panel far below its rating usually points to shading, soiling or a failed cell string.
- Battery check: measure battery voltage at rest and compare with the nominal value printed on the datasheet. A reading far below nominal after a full sunny day means the battery is no longer holding charge.
- Controller check: note any indicator codes or LED patterns on the controller, and confirm the configured working mode matches what the site actually needs.
- Night test: observe one full night. Record turn-on time, output level, any cut-offs and turn-off behavior. This single record usually identifies the failure group immediately.
- Compare with commissioning data: if you recorded baseline behavior at handover, the difference between then and now is your diagnosis.
Keep the night-test record with the pole number or asset tag. When you later contact the supplier, that record shortens the conversation from days to hours.
Failure Group 1: No Light at Night
The most common complaint in the field. Three roots cover nearly every case. The panel is not charging, because of shading, soiling or physical damage. The battery is dead, because it aged past its usable cycles or spent too long in deep discharge. Or the controller has locked into protection after a fault event. Start with the daytime panel measurement, then the battery voltage at rest. If the battery is below nominal voltage and will not recover after charging, replace it; continue running a collapsed battery only stresses the rest of the system.
If this failure appears across many poles at once rather than on a single unit, suspect a configuration or batch issue and contact the supplier with your PO number. Our guide to panel and battery sizing explains how undersized panels push batteries into deep discharge cycles that look exactly like this.
Failure Group 2: Short Runtime and Dim Output
A light that runs briefly or weakly is usually an energy balance problem, not an electronics failure. The panel harvest has fallen behind nightly consumption, whether from seasonal irradiation drops, dust, or a battery that has lost usable capacity. Check the panel surface first, since cleaning is free. Then look at the configuration: the ratio between panel wattage, battery capacity and nightly load determines how many nights of reserve the system carries. Our article on battery autonomy and rainy season sizing walks through that calculation with worked examples for tropical and monsoon climates.
Note that output does decline over years by design. LEDs fade gradually toward their rated lifetime point rather than failing abruptly. If the dimming is slow and even across the whole site, review expected service life in our component lifespan and replacement cycles guide before ordering replacements.
Failure Group 3: Sensors, Timers and Controls
Erratic behavior often lives in the settings, not the hardware. A photocell blocked by dust holds the light on during the day. A timer set for summer sunsets switches on at the wrong hour after the season changes. A motion sensor with aggressive sensitivity responds to animals or passing headlights. These are calibration issues, and they are fixed from the settings menu in minutes.
Units like our all-in-one model A21 and split model A01 ship with dusk-to-dawn light control, timer scheduling and microwave radar motion sensing as standard, so all three behaviors are configurable on site. Higher-level control platforms and networked management systems are available as optional, customizable integrations rather than standard equipment, which keeps the standard configuration simple enough to diagnose in the field. If the failure follows the charge controller type rather than the sensors, the controller section of that guide covers the symptoms.
Failure Group 4: Physical and Environmental Damage
Storms, vandalism and vehicles account for the remaining cases. Inspect gaskets, cable glands and connector pins for corrosion after severe weather, and replace any harness that shows green or white corrosion deposits at the pins. Vegetation is the slowest failure of all: a panel that was clear at installation may spend part of every afternoon in tree shade within two years, which quietly starves the battery. Build vegetation trimming into your maintenance schedule rather than waiting for complaints.
Fix It Yourself or Call the Supplier
| You can handle on site | Belongs with the supplier |
|---|---|
| Cleaning panels and sensor windows | Battery or controller replacement under warranty |
| Adjusting timer, sensitivity and working modes | Failures appearing across multiple poles from one batch |
| Reseating accessible external connectors | Water ingress inside a sealed module |
| Trimming vegetation around the panel | LED or driver faults inside sealed housings |
| Re-pairing or replacing the remote control | Physical damage claims and spare parts sourcing |
The dividing line is simple: anything behind a sealed enclosure or anything that repeats across a batch is supplier territory. For those cases, send the pole or asset numbers, the commissioning records, and your night-test notes.
A Prevention Checklist That Pays for Itself
- Record baseline behavior at commissioning: turn-on time, output pattern, battery voltage at rest.
- Schedule panel cleaning before and after the dust or harmattan season in your region.
- Inspect connectors and gaskets after every major storm.
- Adjust timer profiles twice a year for seasonal sunset changes.
- Trim vegetation on a fixed maintenance calendar, not on complaint.
- Hold a small spares stock of controllers, remotes and gaskets sized to your fleet.
How Qichenshop Supports Post-Sale Troubleshooting
Every Qichenshop order ships with per-model documentation and commissioning guidance, so your team can run the workflow above without guesswork. Hardware carries a 5-Year Limited Warranty with component-level terms, and our what a 5-year warranty should actually cover guide explains what those years should actually cover, component by component. Units are sealed to IP65 and rated for outdoor service, and our production process includes 100 percent aging tests before shipment, which is where most early-life failures are caught before they reach your site.
For distributors and installation contractors, we also support spare parts planning for the fleet you deploy, so a failed controller does not idle a pole for weeks. MOQ starts from 50 units for project orders, and our quotations remain valid for 30 days.
Still stuck on a unit after working through this guide? Send us the model, the symptom and your night-test notes through our contact page, and we will return a troubleshooting sheet for your specific configuration. If you are planning a new deployment, request a sizing review before ordering so the failures in this article never reach your poles.