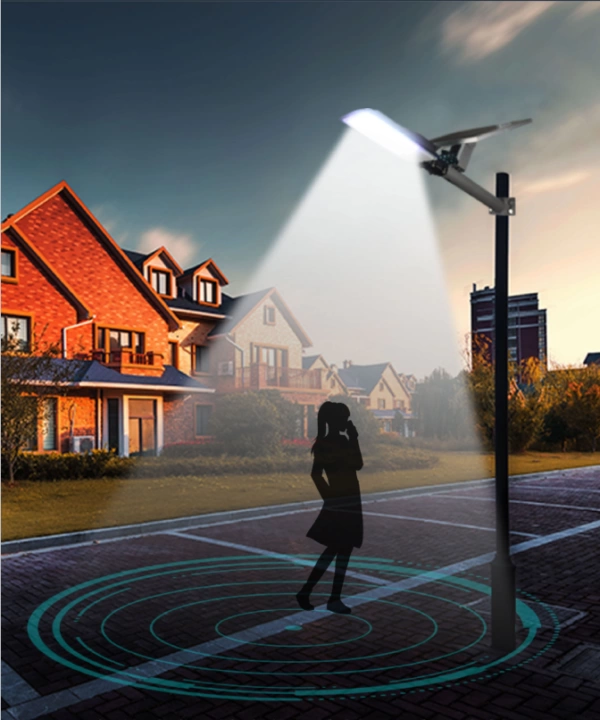



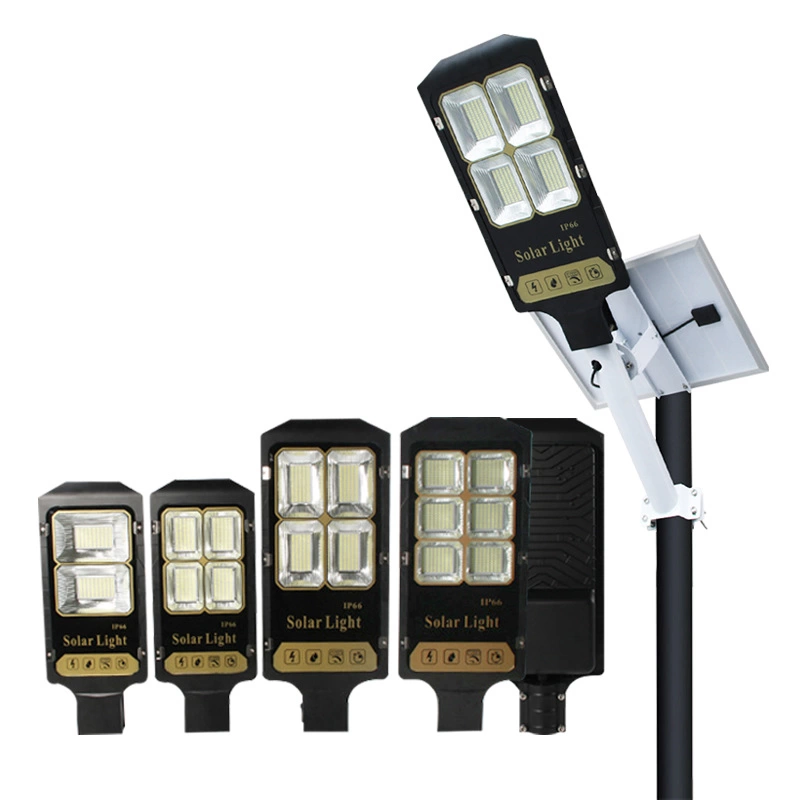
Wattage, pole height and spacing are the three numbers that decide whether a solar street lighting project succeeds. Get them right and the road is evenly lit at a sensible budget. Get them wrong and you get dark patches between poles, a fixture that cannot light the ground below it, or a bill full of wattage you never needed.
This guide is written for installers, contractors and distributors who need to size a solar street light order before requesting a quotation. It covers:
✔ How road width and pole height work together
✔ Wattage versus delivered lumens
✔ Spacing rules of thumb and a worked lumen calculation
✔ Three sizing mistakes we see most often
Step 1: Start With the Road, Not the Lamp
The most common sizing error is starting from a wattage number and working backwards. A solar street light is not a household bulb: its job is to deliver a target brightness (measured in lux) across a defined area, every night, through the local rainy season. So the sizing chain always starts with the site:
- Road or area width – a 4 m community road and a 10 m arterial road need completely different optics and mounting heights.
- Pole height – set by the road width and the chosen arrangement (single side, staggered or center).
- Spacing – how far apart the poles are, which sets how much light each fixture must deliver.
- Nightly run time and autonomy – all night lighting, dusk-to-dawn with motion sensing, and how many cloudy days the battery must bridge.
Step 2: Match Pole Height to Road Width
As a rule of thumb used across the industry, the mounting height should be roughly equal to the width of the road for a single-side arrangement, and slightly less when lights are staggered on both sides. A taller pole throws light further and wider, but only if the luminaire has enough output to reach the ground at usable brightness.
| Installation scenario | Typical pole height | Typical wattage | Typical spacing |
|---|---|---|---|
| Garden paths, walkways, narrow lanes (2-3 m wide) | 3-4 m | 20W-30W | 10-15 m |
| Residential streets and community roads (4-6 m) | 5-6 m | 40W-60W | 15-20 m |
| Urban and collector roads (7-9 m) | 7-8 m | 60W-100W | 20-30 m |
| Main roads and wide arteries (10 m and above) | 9-12 m | 100W-200W+ | 30-40 m |
| Parking lots and compounds | 6-8 m | 40W-80W | 20-25 m |
Treat this table as a starting point, not a specification: the final numbers depend on the required illuminance in your tender or local standard, the luminaire optics, and the lighting arrangement. For wide roads, a staggered layout on both sides usually produces better uniformity than pushing one side to very tall poles.
Step 3: Buy Lumens, Not Watts
Wattage only tells you what the lamp consumes; lumens tell you what it actually delivers to the road. Two 60W solar street lights can differ enormously in brightness depending on LED efficiency, driver quality and optical design. When comparing quotations, always ask suppliers for the delivered lumen output (and ideally an IES photometric file), not just the wattage printed on the housing.
As a reference point, quality integrated solar street lights typically deliver in the region of 100 lumens per watt of LED power. Our all-in-one solar street light A05, for example, is rated at 80W and 8,000 lumens – a figure you can use to benchmark other quotations you receive.
Step 4: Set the Spacing – and Check It With a Lumen Calculation
Spacing is where many projects quietly go wrong. Two practical rules of thumb:
- Single-side arrangement: spacing of about 3-4 times the mounting height.
- Staggered arrangement (both sides): spacing can stretch to about 4-5 times the mounting height, because each point on the road is lit from two sides.
Once you have a candidate spacing, sanity-check the wattage with this simplified calculation:
Required lumens per lamp ≈ (target lux × pole spacing × road width) ÷ utilization factor
The utilization factor describes how much of the lamp’s light actually lands on the road surface; 0.25-0.35 is a realistic planning range for typical street light optics. Typical average illuminance targets in road lighting practice are around 5-10 lux for residential roads and 15-20 lux for main roads – always confirm against your own tender specification or local standard.
Worked example: 6 m residential road
Assume a 6 m wide community road, single-side mounting at 6 m, 20 m spacing, a target of 8 lux and a utilization factor of 0.3:
8 lux × 20 m × 6 m ÷ 0.3 = 3,200 lumens per lamp. At roughly 100 lm/W delivered, that points to a 30W-40W class fixture – consistent with the residential street row in the table above.
Repeat the same calculation with your real road width and pole spacing before committing to a wattage. If the result lands between two sizes, choose the larger one for all-night operation in tropical or high-rainfall markets, or specify a model with an adaptive lighting profile.
Three Sizing Mistakes to Avoid
- Comparing quotations by wattage alone. A “200W” fixture with unverified output can be darker than a properly engineered 80W unit delivering 8,000 lumens. Specify delivered lumens, battery chemistry (LiFePO4 for hot climates) and autonomy in writing.
- Mounting a low-wattage fixture on a tall pole. A 20W unit on an 8 m pole looks tidy but reaches the ground with too little brightness. Keep the wattage, height and spacing in proportion – if the site needs a taller pole, it usually needs a higher-output luminaire as well.
- Sizing for sunny days only. In the Philippines, Nigeria and other tropical markets, weeks of overcast weather are normal. Size the panel and battery for the rainy season scenario (autonomy days), not the best-case solar conditions, or the lights will fail exactly when residents judge the project.
Frequently Asked Questions
Q: What wattage do I need for a 6-meter pole?
A: For residential streets and community roads at 5-6 m, 40W-60W is the typical working range for all-night operation. Narrow paths at the same height can use less; busier collector roads need more. Run the lumen calculation above with your actual spacing and target lux to confirm.
Q: How far apart should solar street lights be placed?
A: A common starting point is 3-4 times the mounting height for single-side layouts, and 4-5 times for staggered layouts – so 6 m poles start at roughly 18-24 m spacing. Wider spacing means each lamp needs more lumens, so spacing and wattage must be decided together.
Q: Does a higher wattage solar street light always mean brighter light?
A: No. Brightness on the road depends on delivered lumens, optics and mounting height. Two lamps with the same wattage can differ greatly in real output, which is why reputable suppliers publish lumen ratings and can provide IES files for lighting calculations.
Conclusion: Size the System, Not Just the Lamp
Wattage, pole height and spacing only work as a set. Start from the road width, pick a mounting height that matches it, set the spacing, then calculate the lumens each fixture must deliver – and verify every number against delivered lumens rather than nameplate wattage.
For a deeper dive on the wattage dimension, see our guide to choosing the best wattage for solar street lights, and then match the wattage class to the right hardware in our comparison of all-in-one vs split solar street lights.
Need a sizing check before you order? Qichenshop manufactures all-in-one and split solar street lights from 20W to 200W+ for global distributors, contractors and EPC buyers, with an MOQ from 50 units. Send us your road width, pole height and nightly operating hours via our contact page and we will recommend the configuration – or browse the full range in our shop.